Contents
Information “Nostalgia”
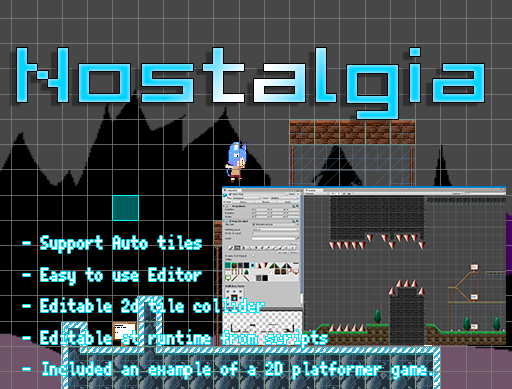
- You want to use 2D tile map even at Unity!
- Since it is an editor extended asset, it is not necessary to separately use a map editor.
- You want to use auto tile format material!
- Since it corresponds to the auto tile standard of RPG Maker VX and WOLF RPG Editor, it is possible to use public map material etc.
- You also want to place and delete tiles during the game!
- Map editing tool Various methods are prepared so you can easily arrange and delete even in the game!
It is a 2D map editor asset for auto tiles that we send to those people.
Purchase Nostalgia
How to use
Create TileSet
- Right-click on the Project Browser or from the Assets menu,
Click “Create> Nostalgia> TileSet”. - Determine the name of the created asset file.
- Material of the same name will be created so choose.
Then set the texture to Tiles Texture.
(Please refer to TileSet for Import Settings of texture)
TileSet settings
- Select the TileSet file you want to set.
(Please select correctly if Material is not selected.) - Please add with Insert to X button or Add to Last button.
- Please fill in the information necessary for the item of Tile.
- For details, please refer to TileSet.
Add Map
You can add it by one of the following methods.
- Click “GameObject> Nostalgia Map” on the menu.
- Click Hierarchy’s Create button or right click and click “Nostalgia Map”.
- Click “Nostalgia> Map” from the Add Component of the GameObject you want to add.
Set TileSet to Map
- Set the Map’s Tile Set.
Resize Map
- Click the Resize button in the Map inspector.
- Write size in Width and Height.
- Set reference points for Horizontal and Vertical of Pivot.
- Click the Resize button.
- For details, please refer to Map.
Placement of tiles
- Choose a pencil, rectangle or bucket from the toolbar in the Map inspector.
- From Tiles, select the tile you want to place.
- Drag the place you want to place on the Scene view.
- For details, please refer to Map.
SortingLayer component
A component for applying 2D Sorting Layer to MeshRenderer and others.
- Add “Nostalgia> SortingLayer” from Add Component of the GameObject you want to add.
- Set Sorting Layer and Order in Layer.
- For details, see SortingLayer.
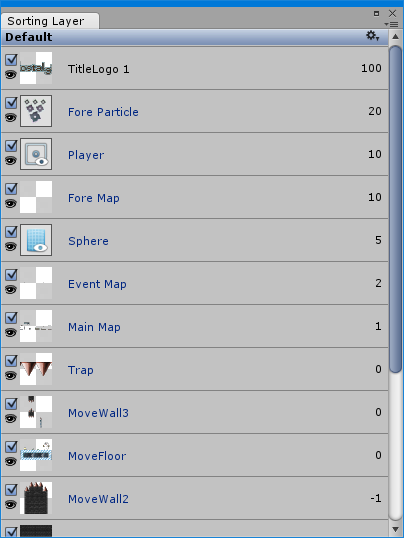
SortingLayer window

A window that displays a list of GaneObjects with components such as Map, Sprite Renderer, and Sorting Layer.
- To display it, click “Window> Nostalgia> Sorting Layer” in the menu.
- You can select GameObject, switch active, and switch component effectively.
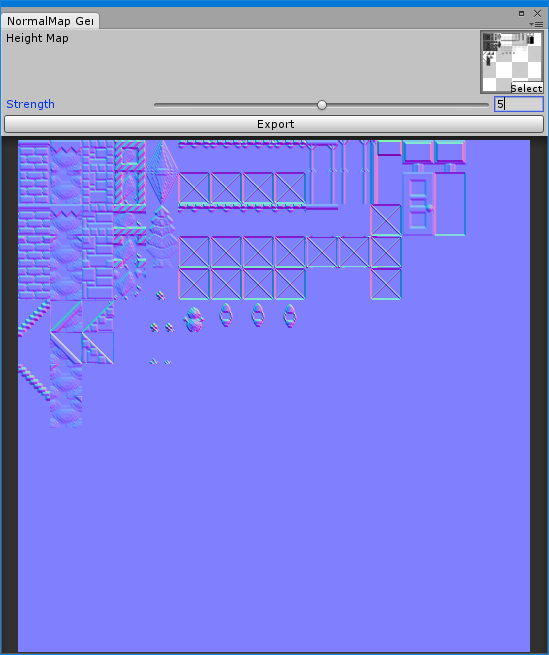
NormalMap Generator Window

Normal map generation window considering connection by auto tile.
- To display it, click “Window> Nostalgia> Normal Map Generator” in the menu.
- Select the TileSet you want to generate a normal map from the Project window,
Set Height Map and Strength, Export will generate “TileSet name + Bumped.png” file.
Please set the generated normal map to Material of Nostalgia / Tiles / Standard shader.
Update procedure
Please follow the procedure below when importing Nostalgia which upgraded to existing project.
- Be sure to back up the project before updating.
- If you are opening an existing scene, create a new scene from “File / New Scene” in the menu.
- Delete the Nostalgia folder that has already been imported.
- Import a new version of Nostalgia.
To the next step
- Tutorial
It is a tutorial introducing the basic usage of Nostalgia. - Asset Reference
The reference of the major Asset - Component Reference
The reference of the major Component - Script reference
The reference for script - Forum
For questions and requests here
